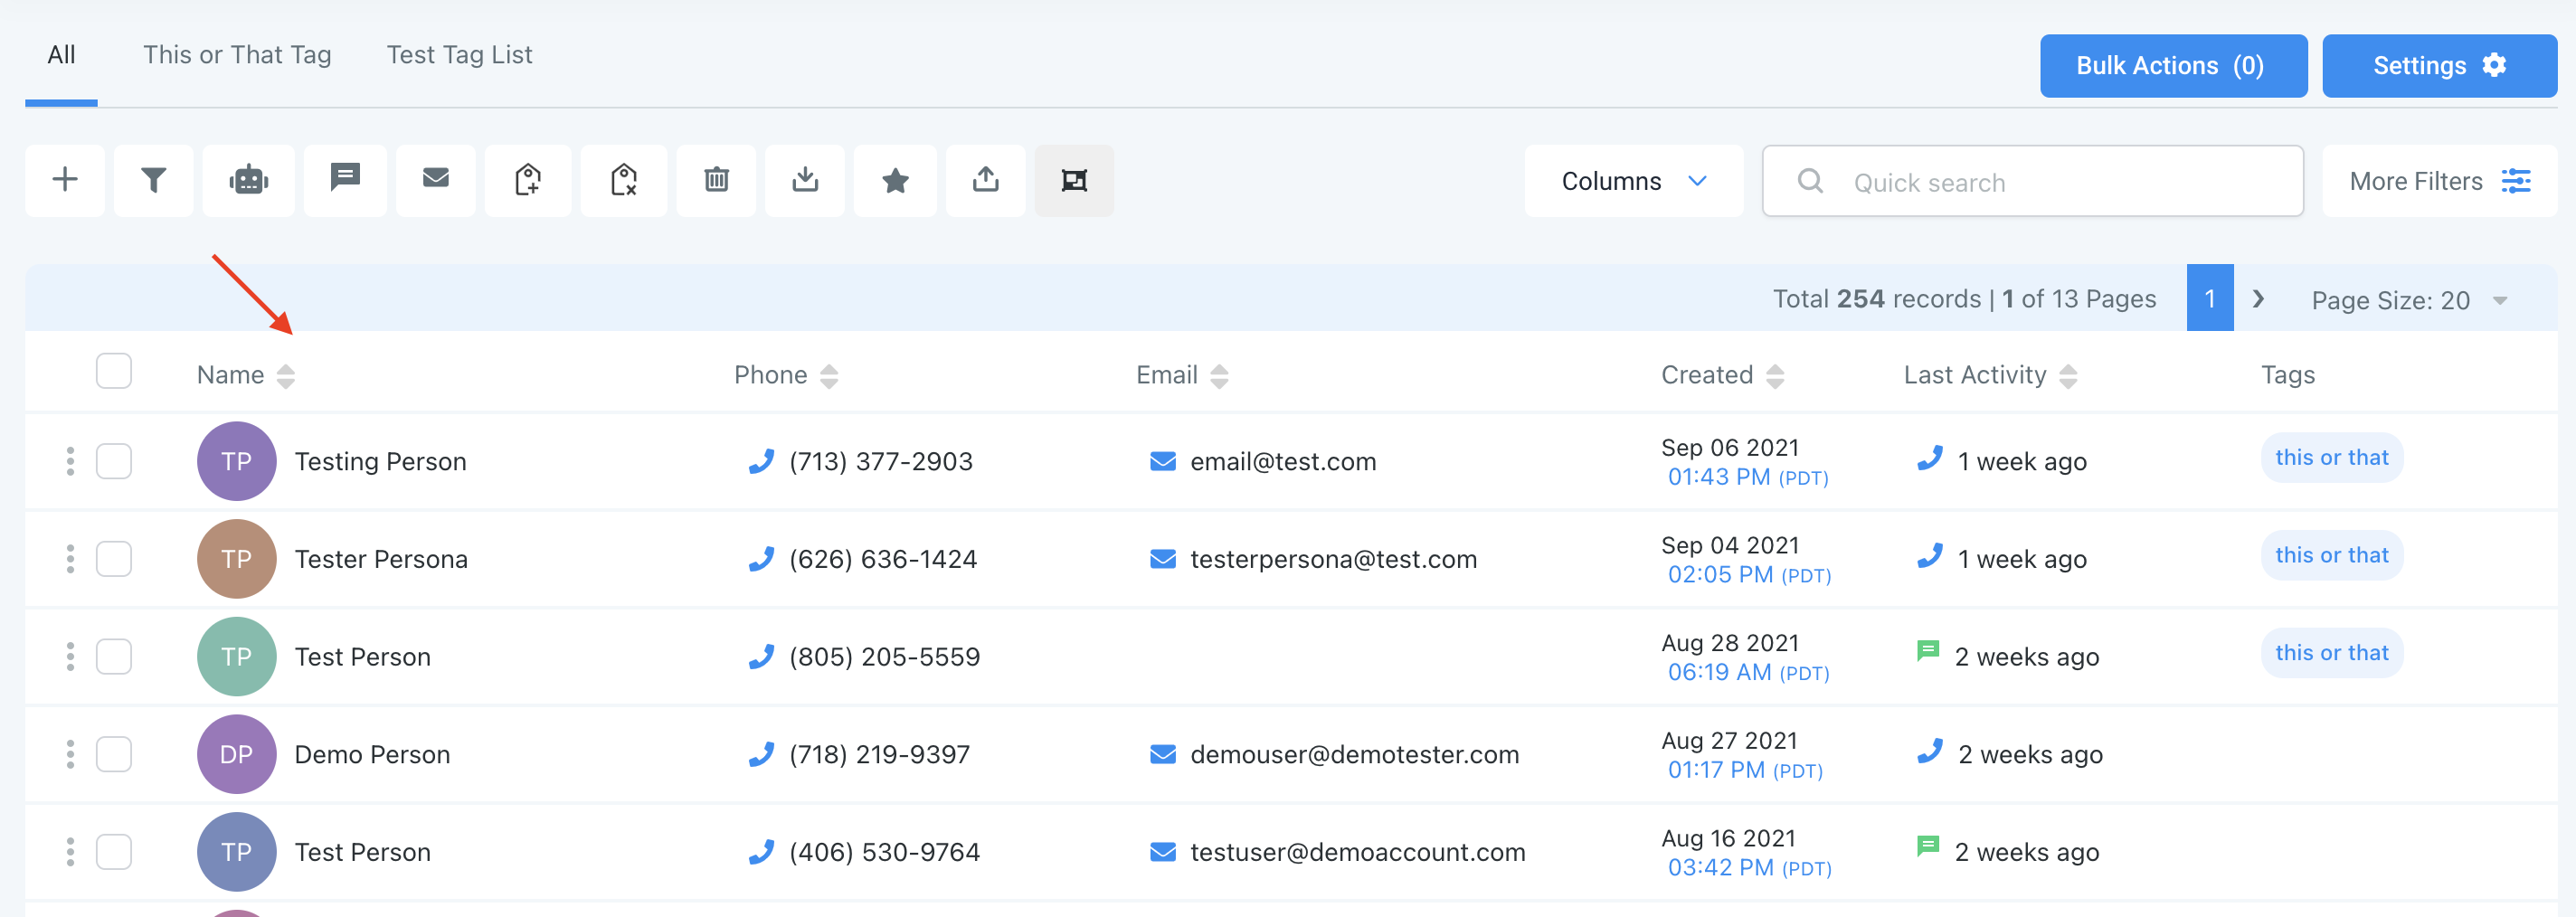
Here's an overview of the Contacts section of your system. We'll show you how to add, export, search, and filter through your contact records to stay organized.
Step 1: Access your Contacts section.
- Navigate to Contacts.
- The main page displays a list of all your contacts and basic information like name, phone number, email, when they were created, last activity, and tags.
- By dropping down the columns menu at the top, you can update which columns are displayed.
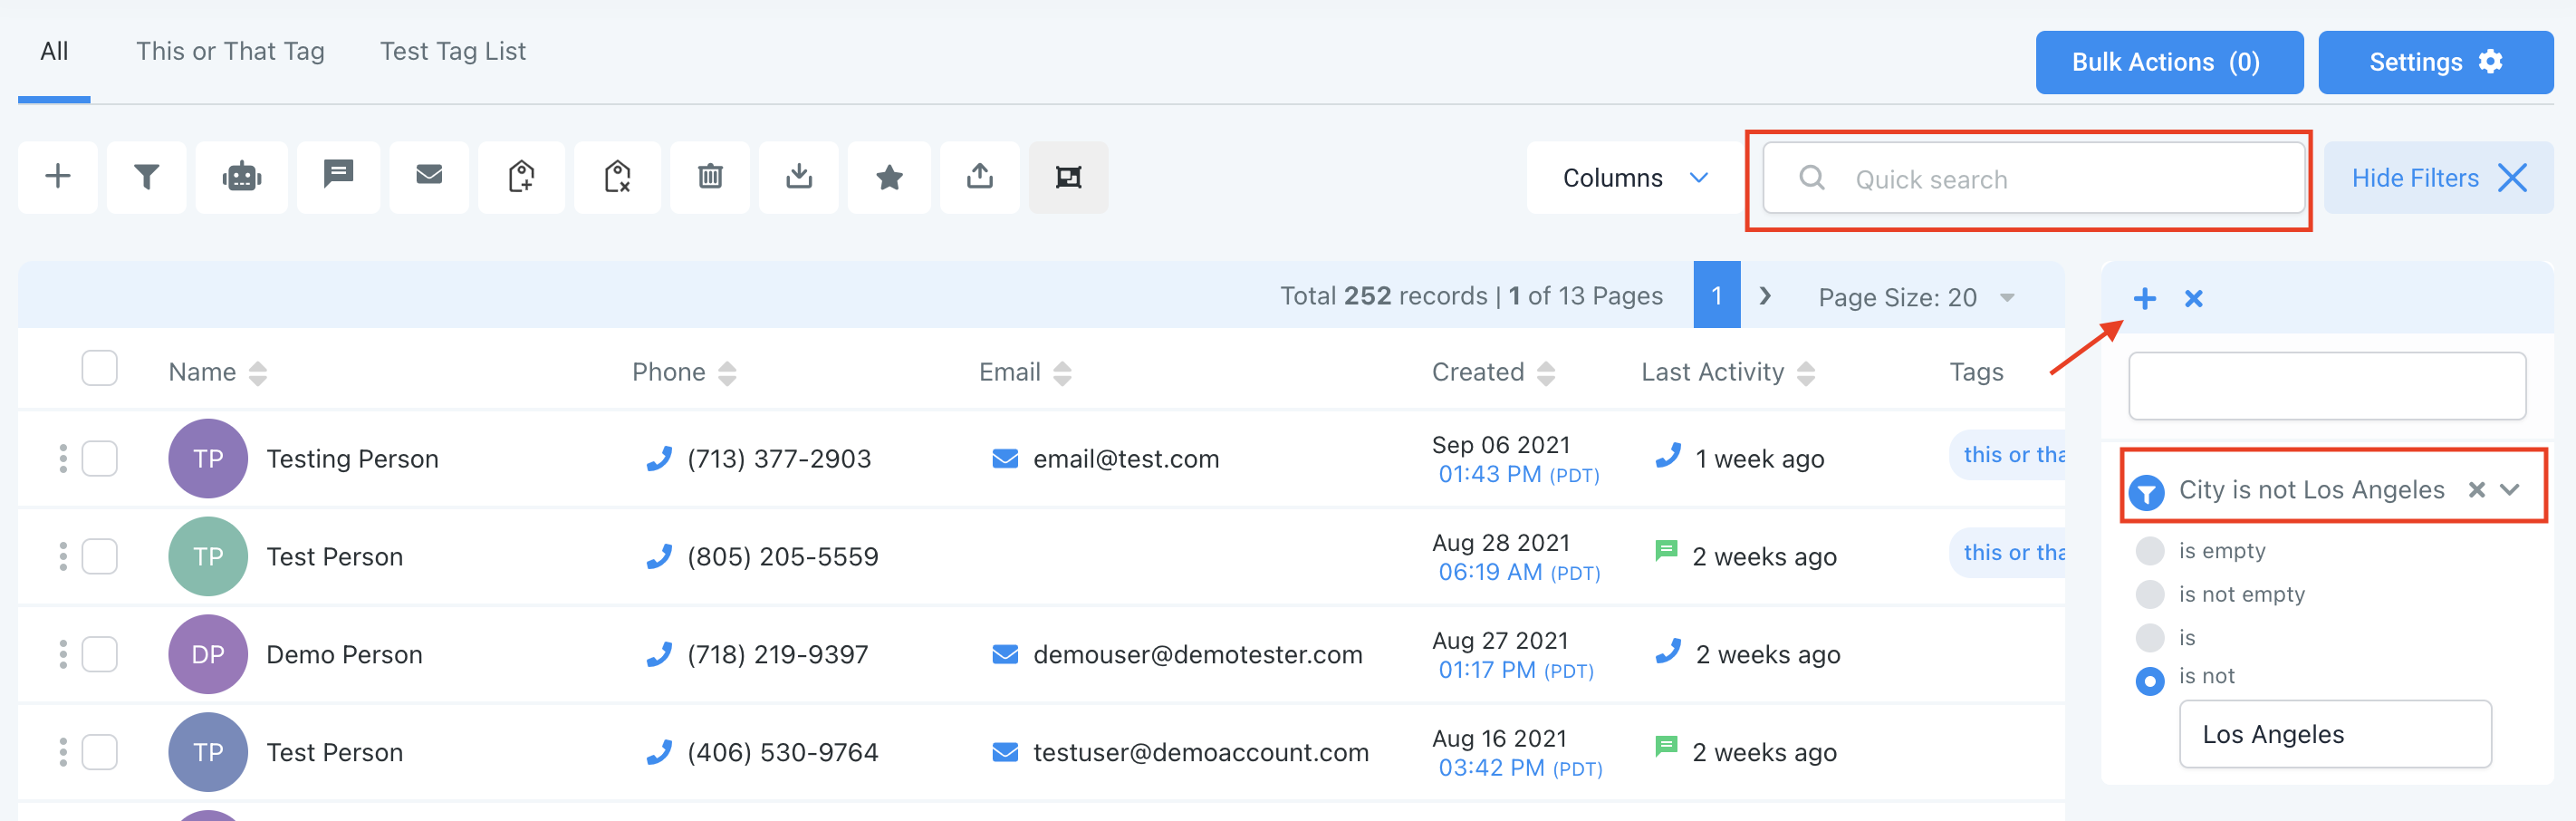
Step 2: How to Search and Filter through your contacts.
- You can also use the Quick Search feature to do a quick search by name, email, business name, tag, or phone number.
- Under More Filters you can Filter through contacts using a variety of specific options including Tag is ___, City is Not ___, Phone Number Field is Empty, and more…
- NOTE: Check out our Smartlist video/article to learn more in depth about how to use and save these filters. You can use multiple at once to filter out Contacts very specifically.
Step 3: Additional Actions
- Using these Actions icons at the top, you have several options for adding or removing contacts, and applying bulk actions. Our Bulk Actions tutorial gives a full overview of each of these actions. The most foundational are:
- Add contact: manually add an individual contact record
- Export Contacts: select a list of contacts to export to your computer (the file will download as a .csv Excel file)
- Import Contacts: Add a list of contacts into your system, using a .csv file
