You may want to block time out of your standard availability in your calendar, for a variety of reasons, including being away/out of office, or having something outside of your system scheduled during that time. Follow these steps to block off time in your calendar.

Step 1: Creating Blocked Time
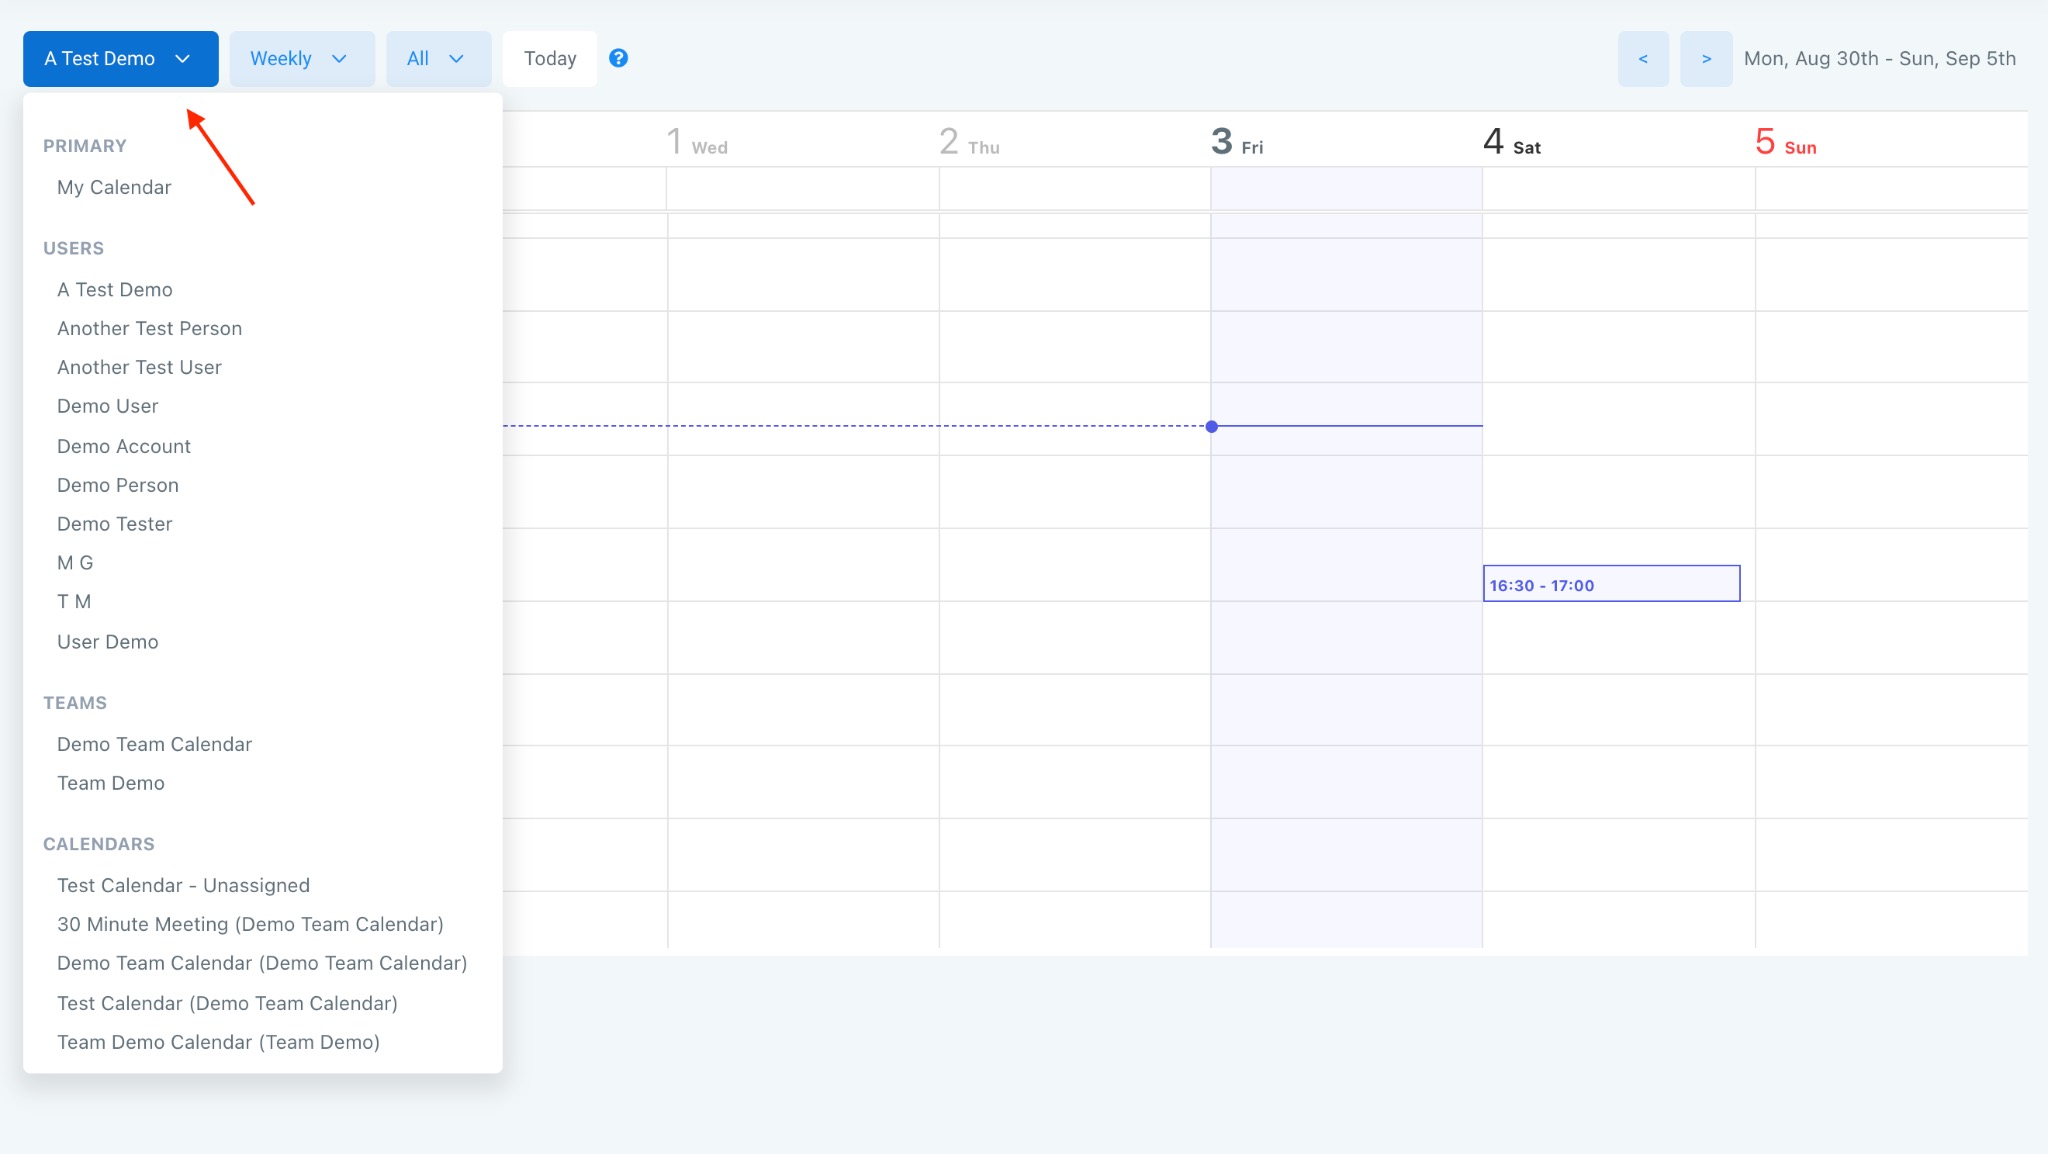
- Navigate to your Calendar.
- Click the date and time you wish to start blocking time as unavailable. A pop-up window for "Edit Appointment" will appear. The "Status" should be set to "Busy" by default.
- Exit the "Edit Appointment" window without clicking Save. You'll now see a 30-minute window time blocked off in the calendar.
- Click and drag to increase the time OR you can click back into the event and set the End Time to the desired time. This second way of doing it is especially useful if you have multiple days that you want to block off.
- Repeat for desired days and times you wish to have the time blocked as unavailable.

NOTE: Blocking time is done on a user basis. You can block time off in the User Calendar for your own User. (User A cannot block off time for User B.) Under Scheduling > Calendar, for example, I can block time off in My Calendar and the Teams Calendars I’ve been assigned to. I can view any of the other calendars, but can’t block time off for someone else in another calendar.