When using workflows, you may want to categorize them to stay organized. Using the Workflow Folders feature will help you stay organized.
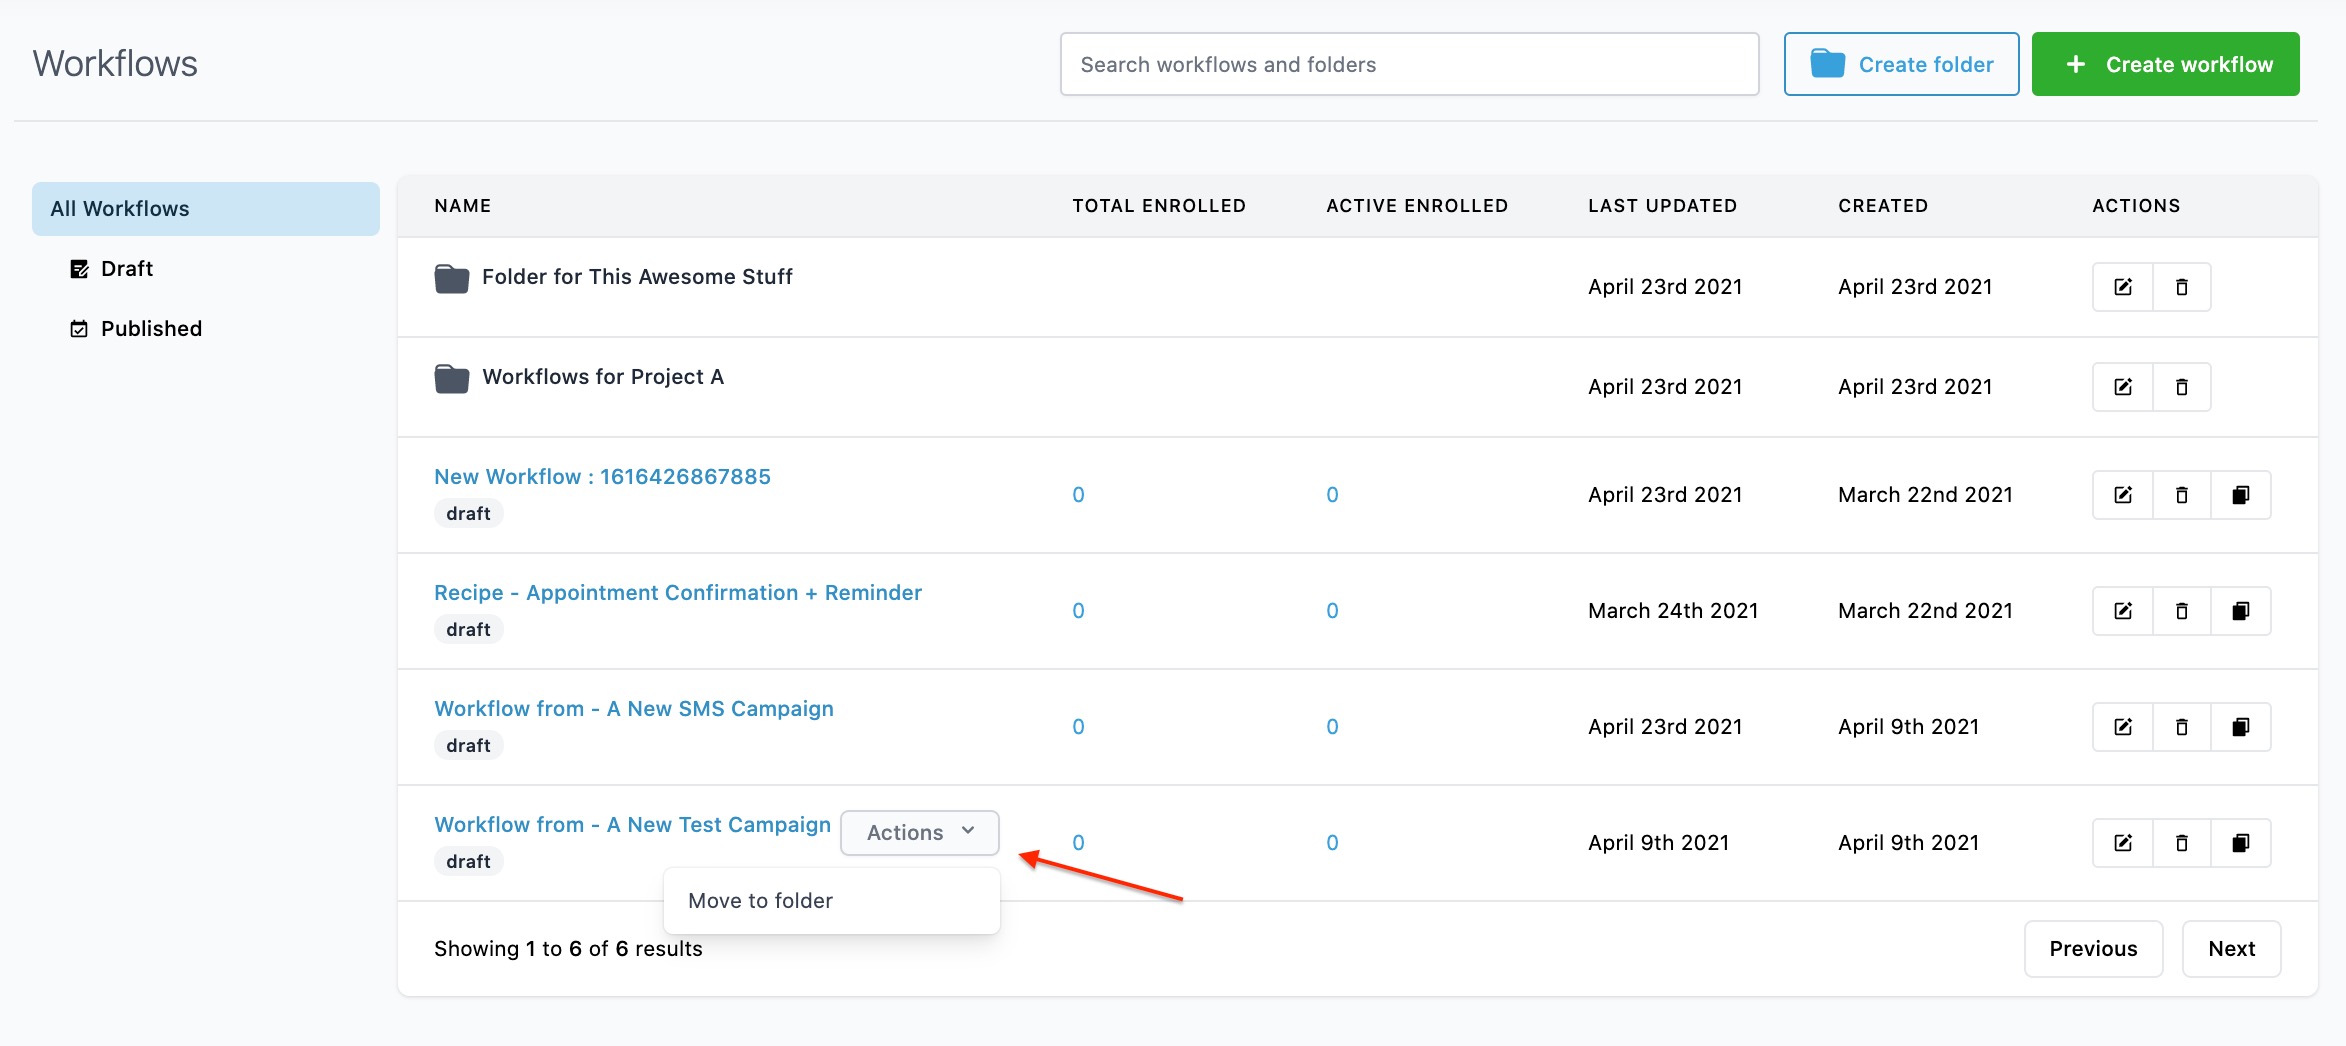
Step 1: Creating Folders
- Navigate to Workflows
- Click "Create folder" in the top right

- In the popup window, name your Folder.
- Save, and it will appear in your list of All Workflows.
Step 2: Moving Workflows Into Folders
- Hover next to the name of an existing Workflow to popup the Actions tab.
- Select Move to Folder from the dropdown

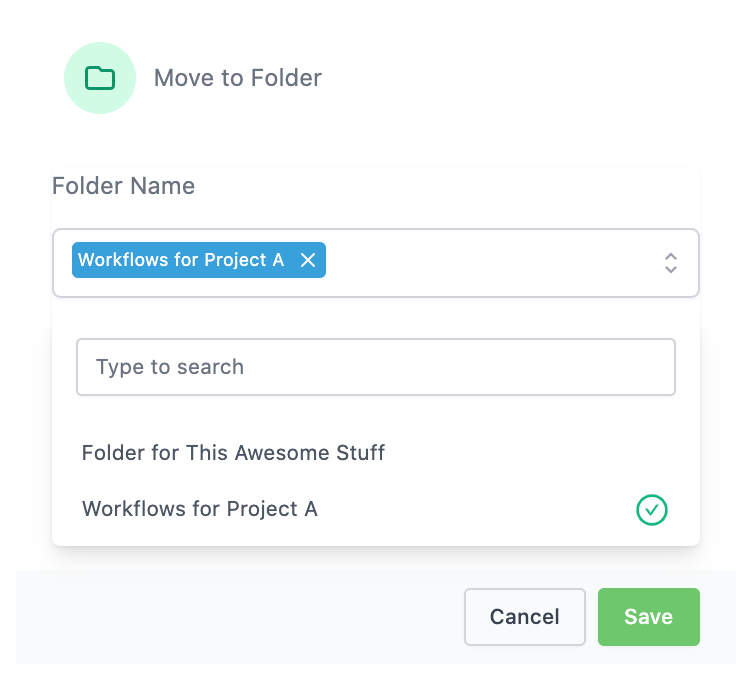
- In the popup window, choose a folder, and Save.

NOTE: You can move a Workflow out of one folder into the general page, or into another folder, following the same process. You can also navigate into a folder and create a Workflow from within the folder to automatically have it saved within that folder.
